A decent guide on how to setup Titan Email on Mac isn’t easy to find, but, in reality, it only requires a few easy steps.
That being said if you haven’t set up an email account through IMAP before, it’s definitely an aggravating process.
Hostinger offers a complimentary, custom business domain email through Titan Email by hosting you website with them. Which sounds like a great deal until you take it, because then you end up getting confused from lack of documentation on Titan’s side.
Luckily, Titan Email is a great client! This issue is the only trouble we’ve had with them which is from their lack of support. Now since we didn’t care much for Titan’s web client or app we considered others probably wouldn’t either.
Although setting this up on Mac isn’t as difficult as setting up Titan email on outlook, that isn’t to say this isn’t a tedious process. But if you haven’t set up an IMAP email before, it’s not like it’s common knowledge.
Now if you’ve never heard of Hostinger before, it is a great website hosting service that Useless Wisdom personally uses for our sites.
If you’re in the market for a hosting service with fast speed and great customer service, Hostinger is currently offering 20% off their annual plans for readers of Useless Wisdom.
That being said let’s jump into it.
Setup Titan Email on Mac OS
Although setup of a titan email account on Mac isn’t as tedious and aggravating as other apps, the process still isn’t simple. With that in mind, set up on Apple Mail deserved a separate walkthrough.
Assuming you’ve never setup Titan Mail on Mac before, we’ve laid out a clear but concise format to hopefully make the process as simple as possible.
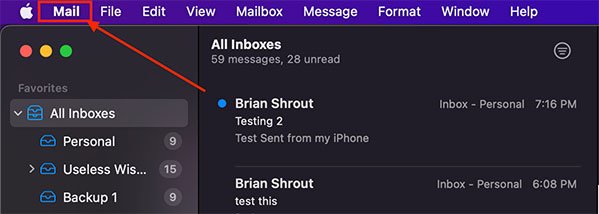
1. Open Apple Mail
Getting right into it, use spotlight (command + spacebar) and search for ‘mail’. Open the Apple Mail Application.

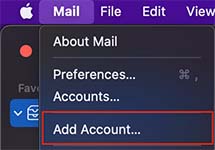
2. Click on 'Mail' in the Top Left Corner
With Apple Mail open, click on ‘Mail’ in the Top Left Corner.
3. Select 'Add Account...'
Select ‘Add Account from this dropdown box.
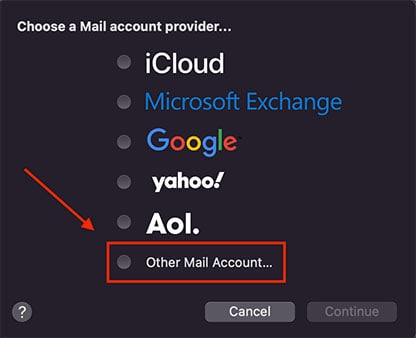
4. Select 'Other Mail Account...'
After selecting ‘Add Account…’ you will get this popup with an a few option to choose a mail account provider. Since we aren’t using the Apple Mail instead of the Titan email client, we select ‘Other Mail Account…’
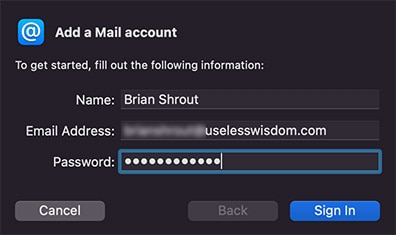
5. Enter your Titan Mail Credentials
After selecting ‘Other Mail Account…’ and clicking continue, you will see this next popup to add your mail accounts information.
Assuming you’ve already setup your custom domain email account through Titan or most likely Hostinger, you will enter your Titan Mail credentials in this popup.
Once you’ve filled out these fields click ‘Sign In’.
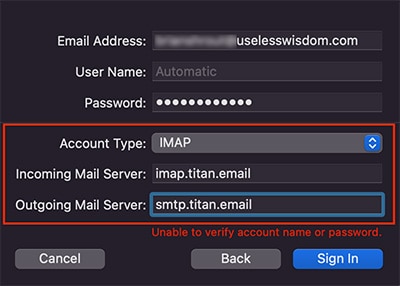
6. Enter Titan IMAP Information
After a few seconds, this will be the popup you see. Along with this box, you will also receive red text underneath the ‘Outgoing Mail Server’ field. Don’t worry, this is normal.
You will need to fill out the IMAP settings and SMTP settings in the following fields:
| Field | Input |
|---|---|
| Incoming Mail Server | imap.titan.email |
| Outgoing Mail Server | smtp.titan.email |
*Note: This is the most important step to setup titan email on mac, server settings. Copy the table exactly to ensure everything works smoothly.
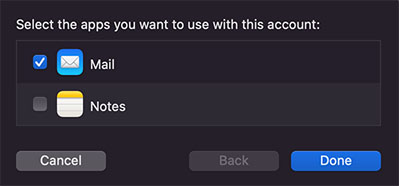
7. Select the Apps you Want to Use with this Account
Next is to check the apps you want to use with this account. Personally, we only want our mail to sync we this email.
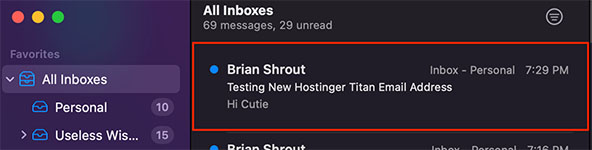
8. Testing your New Address
The last step to setting up Titan Mail on Mac is to test that we’ve setup everything correctly. We do this by sending an email to a seperate email address to ensure we can send and receive from this account.
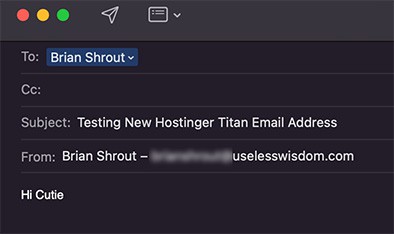
A few seconds after sending an email to and from this account we notice everything has been set up and is working properly. All good news.
Personalize your Mailbox
This step is optional, however we highly recommend following this if have mutliple email accounts you manage on your Mac.
It’s much easier to stay organized with your different email accounts when you set personalized labels for each of your mailboxes.
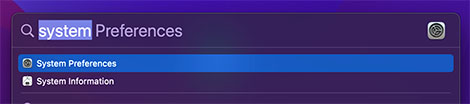
1. Navigate to your system preferences
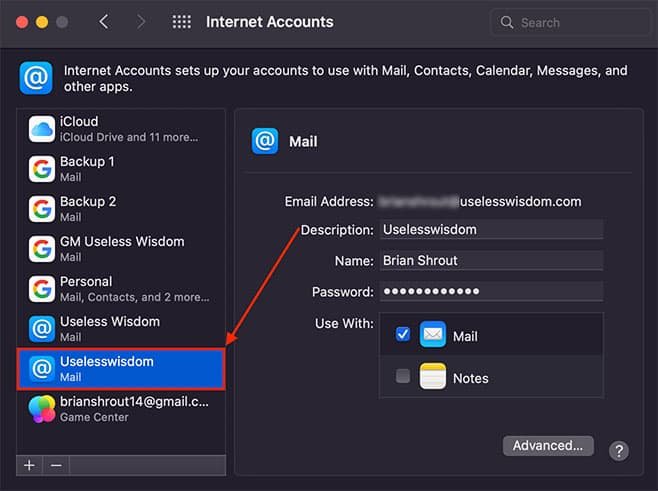
2. Click on Internet Accounts

3. Select your new Mail Account we just setup
4. Change your information
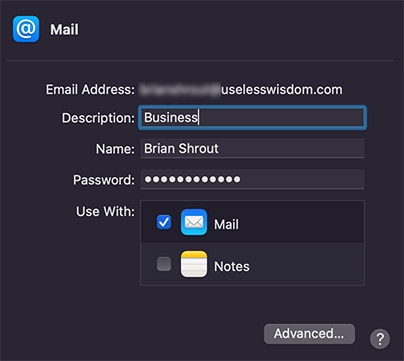
Here you can change your information and labels for your new mailbox.
Description – This will be the label of your mailbox that shows up on the left side in your Apple Mail App.
Name – This will be the name that shows on your emails in the ‘From’ field.
Your custom domain Titan email account is now all setup on your Mac!
However, if like me, your Apple iCloud account didn’t transfer this mail account to your other devices automatically, you might want to setup Titan mail on iPhone or iPad as well.
Final Thoughts on Setting Up Titan Email on Mac
All in all, setting up titan mail on MacOS might seem pretty straight forward now, but it’s definitely not something you would just randomly know how to do.